
Before we start
- You have to have Zoho admin priviledges
- You have to have access to the Domain Settings, and be able to add records to it
- You have to have an email address with the domain you are going to verify
The Process
We are going to add two or more records (SPF and DKIM) to our domain DNS, and then verify from the Zoho app that the records have been added.
Zoho CRM Domain Verification (also known as Email Authentication)
Adding the Domain to the CRM Settings:
- Go to the setup and, under "Channels", click on "Email"
- Click on the tab "Email Deliverability", and then on "Add domain"
- Enter a valid email address that you have access to and click on "Add domain"
- A code will be sent to your inbox: copy it
- In the CRM, click on "Enter Code", paste the code, and click on "Verify"
The domain has been verified, now let's validate it:
- Click on "Validate Records"
- Copy the SPF record
- Open your domain DNS settings, and add a new TXT record (See Note 1)
- The name is @ and the value is what you just copied from the CRM
- Now copy the subdomain name, which normally is a number followed by your domain
- In the DNS settings, add a new TXT record
- Paste the subdomain into the name section
- On the CRM, copy the value, and back in the DNS Settings, paste it on the "value" field
- Once both records have been added to the DNS Settings, go back to the CRM and click on "Validate Records"
- The records have been validated (See Note 2)
Note 1
If you already verified other Zoho Apps before, instead of adding a new SPF record, you have to edit the one you already added. Add the section that is not in the TXT record.
Zoho Campaigns Domain Verification
If you have setup an email address with Zoho Campaings, the domain has been added to Campaigns, so you only need to verify the DNS records.
Authenticating the domain in Zoho Campaigns:
- Go to the setup and, under "Deliverability", click on "Domain Authentication"
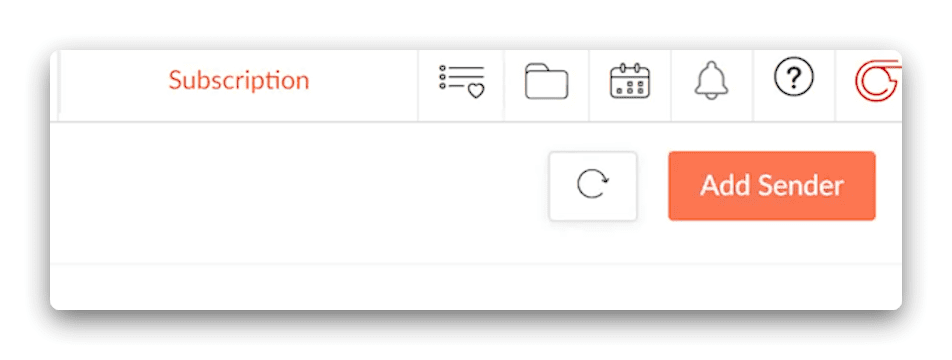
- If your domain is not listed in this tab, click on "Add Sender" on the top right corner
- Next to the domain, click on "Setup"
- Copy the SPF record
- Open your domain DNS settings, and add a new TXT record (See Note 1)
- The name is @ and the value is what you just copied from Campaigns
- Now copy the subdomain name from the DKIM section, which normally is a number followed by your domain
- In the DNS settings, add a new TXT record
- Paste the subdomain into the name section
- On the CRM, copy the value, and back in the DNS Settings, paste it on the "value" field
- Save the record
- Once both records (SPF and DKIM) have been added to the DNS Settings, go back to Campaigns and click on "Verify Domain"
- The records have been validated (See Note 2)
Note 2
If you are having issues with verifying the domain, try to add the DKIM in a different way. Normally, the error is on the name of the record. Here are some examples:
- 11111111._domainkey.blungo.co
- 11111111._domainkey.blungo.co.blungo.co
- 11111111._domainkey
Zoho Desk Domain Verification
Adding the Domain to the Desk Settings:
- Go to the setup and, under "Channels", click on "Email"
- Click on the tab "From Address", and add a "New From Address"
- Enter a valid email address that you have access, as well as a name
- Click on "Save"
- A verification link has been sent to your email: click on it
- The email has been verified
Domain authentication:
- Click on the "DKIM Authentication" tab
- Click on "Verify" next to the domain
- If you don't see the domain listed here, first you have to add a "From Address" with the domain you want to verify
- On the new window, copy the SPF record
- Open your domain DNS settings, and add a new TXT record (See Note 1)
- The name is @ and the value is what you just copied from Desk
- Now let's add the 2 DKIM records:
- Copy the first subdomain name
- In the DNS settings, add a new TXT record
- Paste the first subdomain into the name section
- On Desk, copy the first value, and back in the DNS Settings, paste it on the "value" field
- Save it
- Follow the same steps to add the second DKIM record (See Note 3)
- Once all the records have been added to the DNS Settings, go back to Desk and click on "Verify"
- The records have been validated
Note 3
Some DKIM records will work for multiple Zoho apps, so if you already added the record, you don't have to add it again. The DNS Settings will let you know if you are trying to add a duplicate record.