
In this post we will make a tour of Zoho Bigin, to be able to observe the user interface and the features that this CRM application has.
Deals module
General Overview
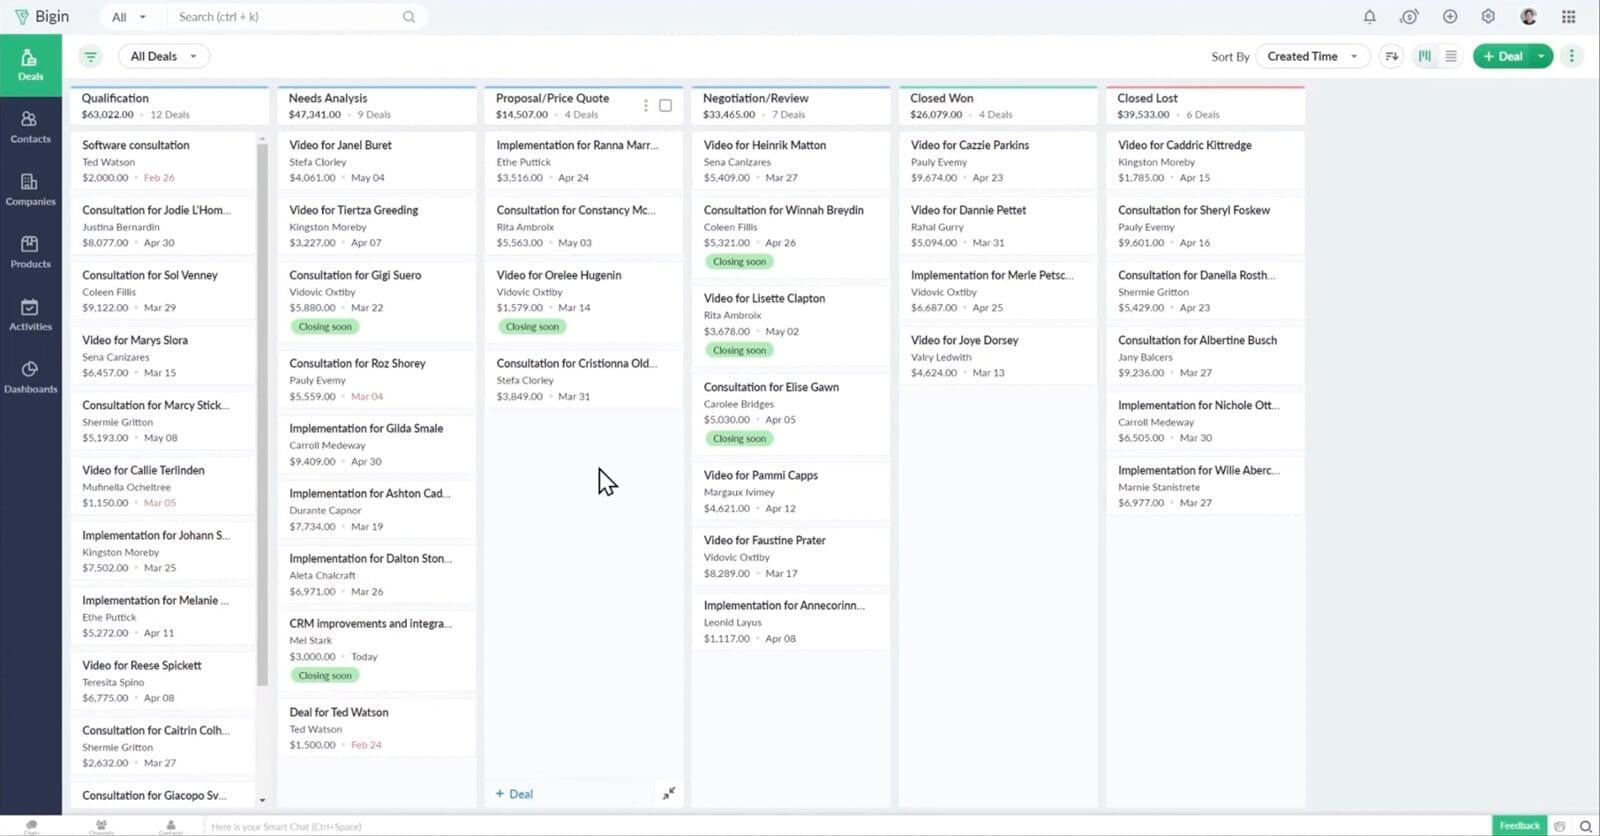
When you open Zoho Bigin, you start on the Deals tab, with all of them in the center of the screen. On the left is the modules menu, which is used to switch to other modules, such as contacts and companies. On the top you have the search bar, notifications and signals, the quick add button, the settings and the icon of your profile.
If you want to create a new opportunity, you should click on the creation button at the top right and complete the required fields.
Deal Information
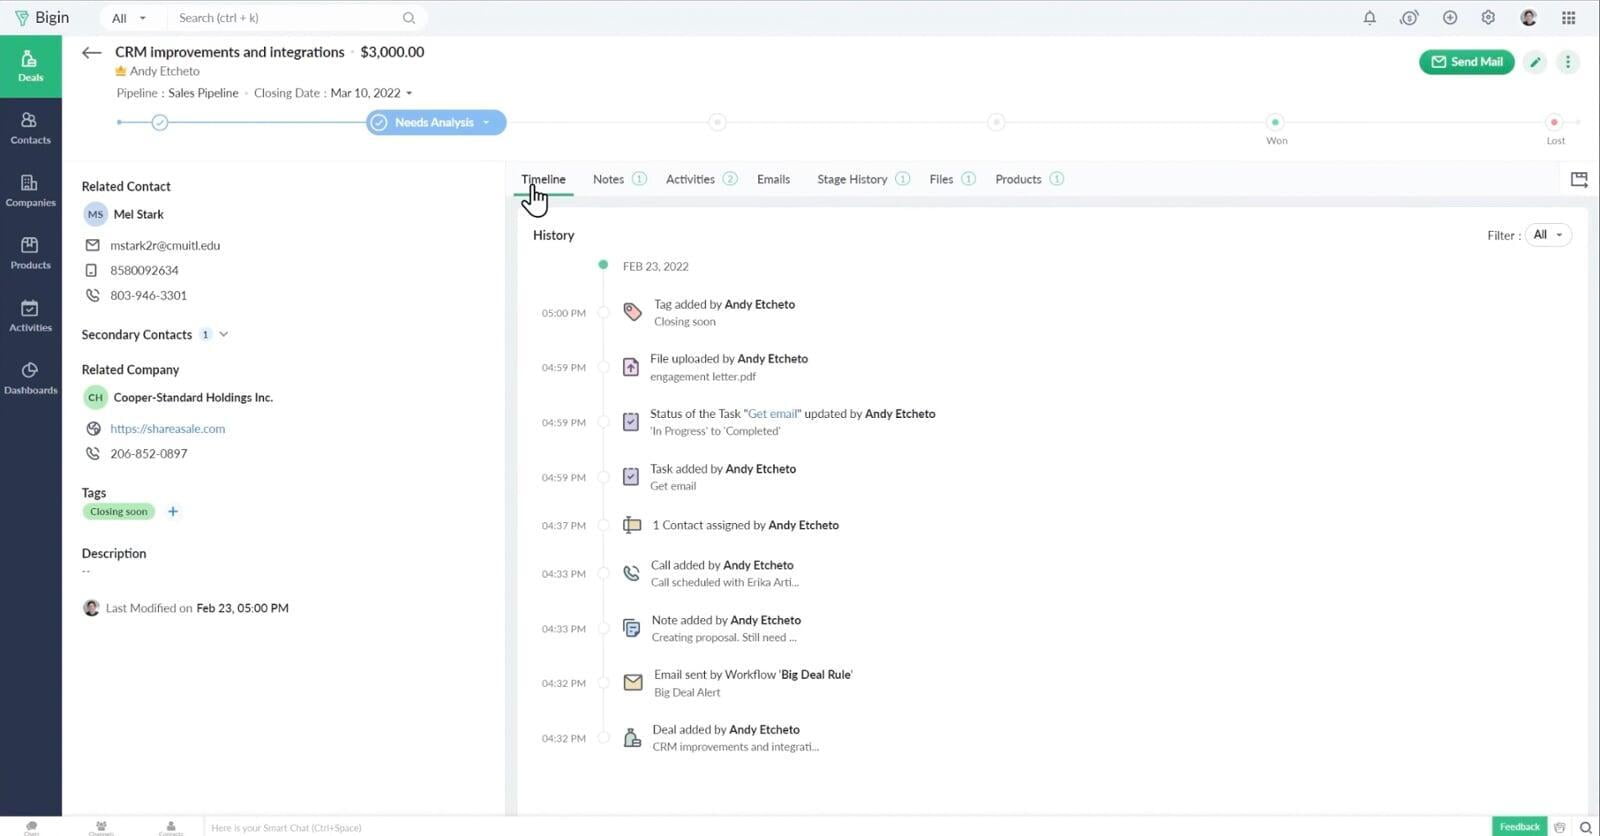
To open a Deal just click on it. Here we can see all the information related to the Deal:
- On the top we have the name, amount and stage of it.
- On the left we have information like the contact and company related to the Deal.
- In the center we have the timeline, notes, activities, emails, historical stages, archives and products:
- The Timeline allows you to view in chronological order all the changes that were made on this Deal.
- In the Notes tab you can add important notes for the Deal.
- In Activities you can create tasks, events or calls to keep track of everything you need to do with this Deal.
- In the Mail tab you can see all the emails related to the Deal.
- In Stage History you will see all the times that the Deal changed stage.
- In Files you can attach all those files you need.
- And in Products you can see all the products related to this Deal.
Change of Deal Status
Change of Deal Status

One way to move the Deal to another stage is by dragging it to the corresponding stage column. This is a very convenient and quick way to change status deals.
Search Bar
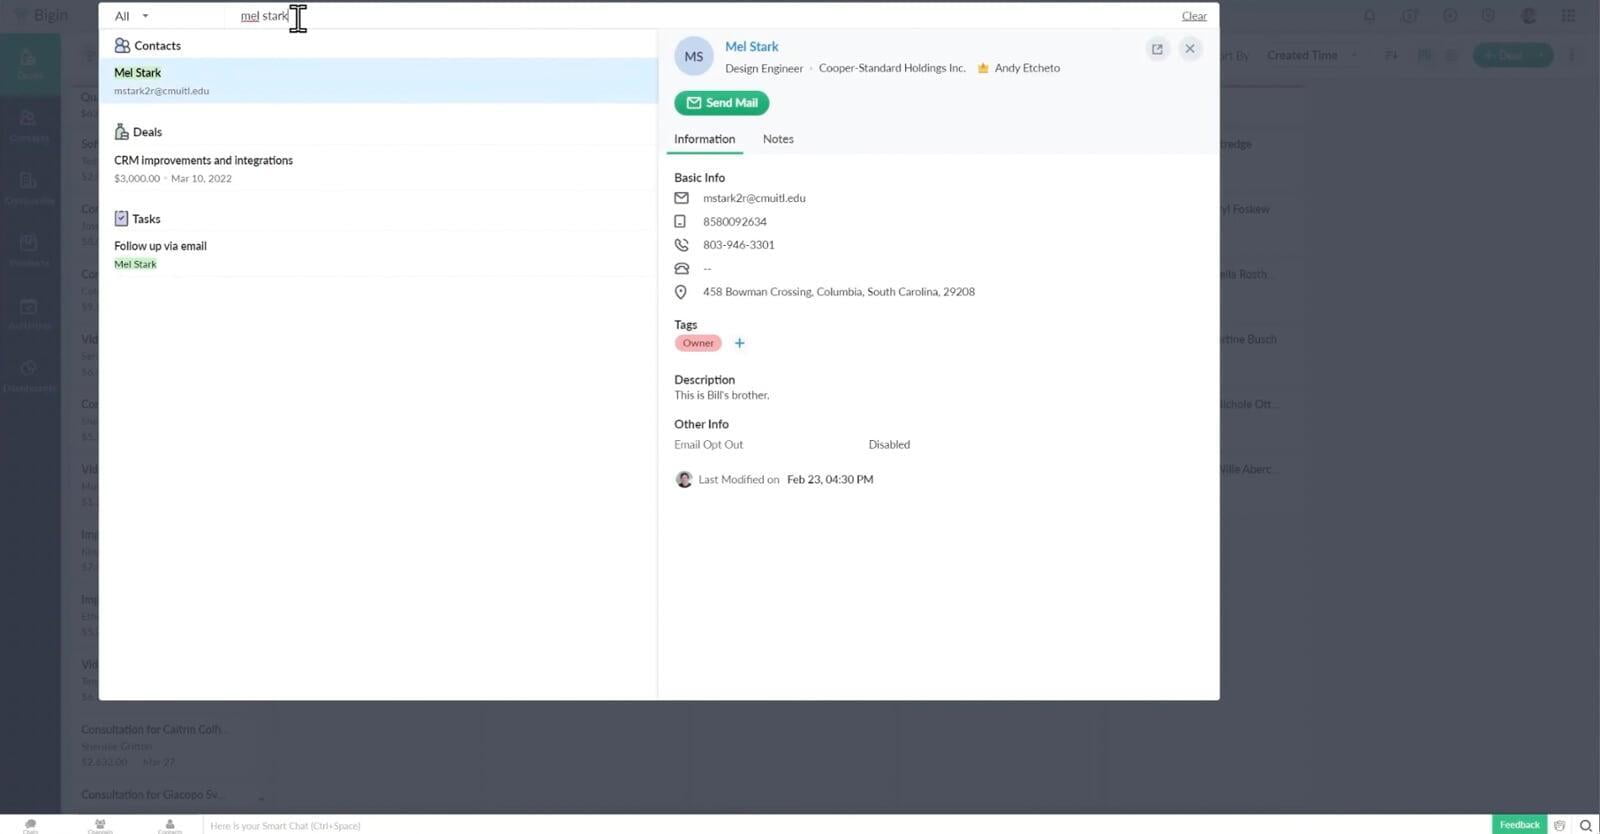
If for example you want to search for a contact, you type the name and the search bar throws you results without pressing the enter key: one of them is the contact, the other is the related Deal and a task. You can also view contact information directly here in the search bar. If you want to see the info of the Deal, click on it and you can see everything on the right.
Contacts module
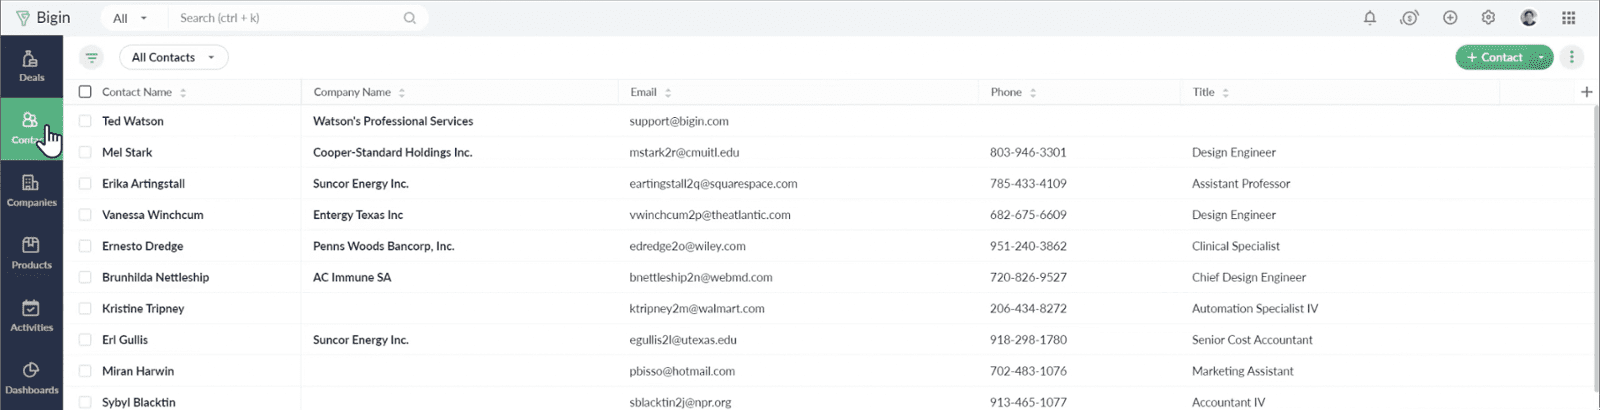
Here we can see a list of all the Contacts we have, and if we want to create a new one we click on the button to create contact. In this register we will find information about it, as well as the timeline, notes, and deals related to this contact.
Companies module
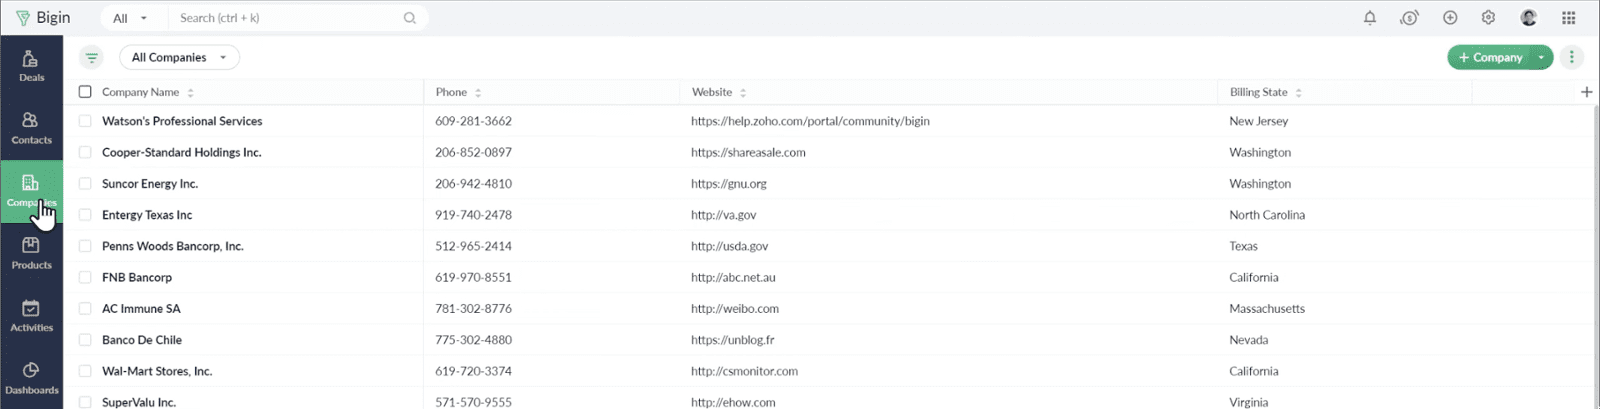
Here you will find all the companies you have in your CRM.
Products module
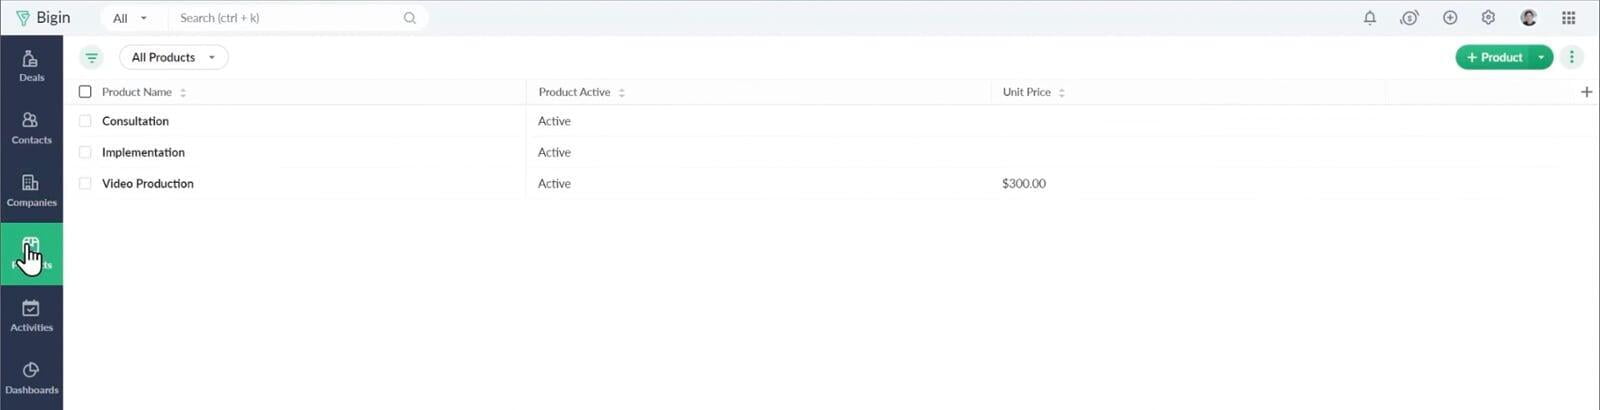
Here will be all the products or services you sell. In my case, I only have 3.
Activities module
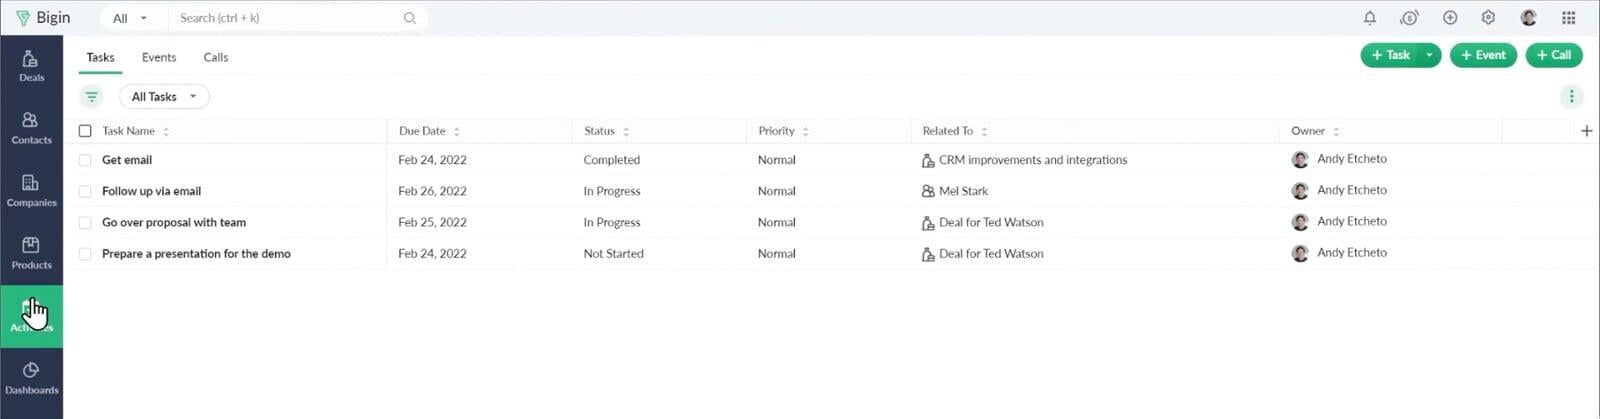
In this module we will find all the activities we have, such as tasks, events and calls. We can create them using the top 3 buttons on the right.
Dashboard module
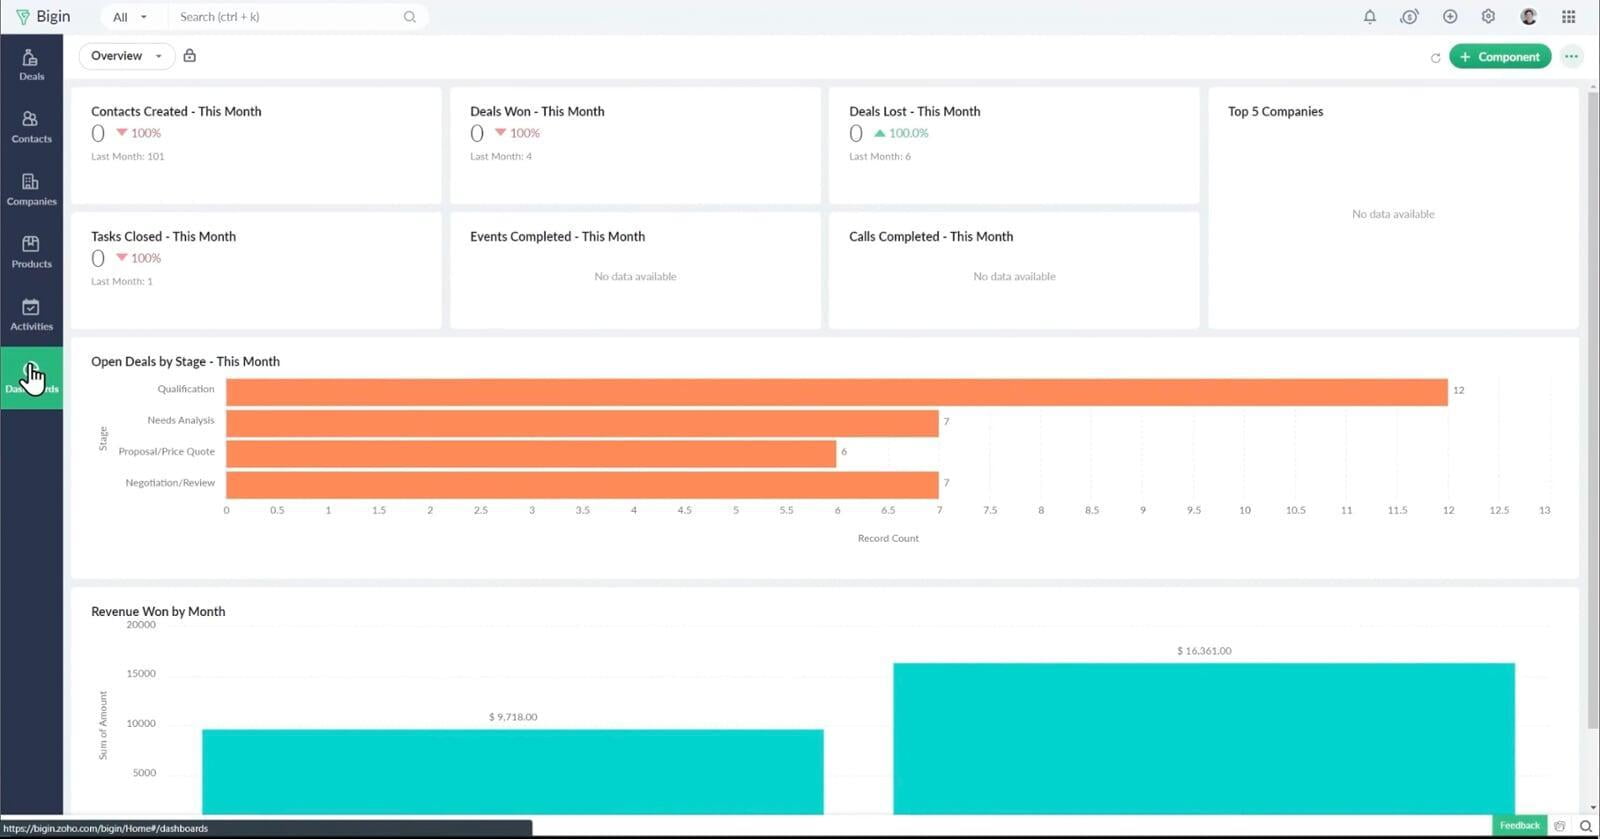
Here we can find widgets and lots of information about our sales, contacts, deals, companies and products.
Settings
The last thing I want to show you are the settings:
- User and Controls: we can add user profiles and roles.
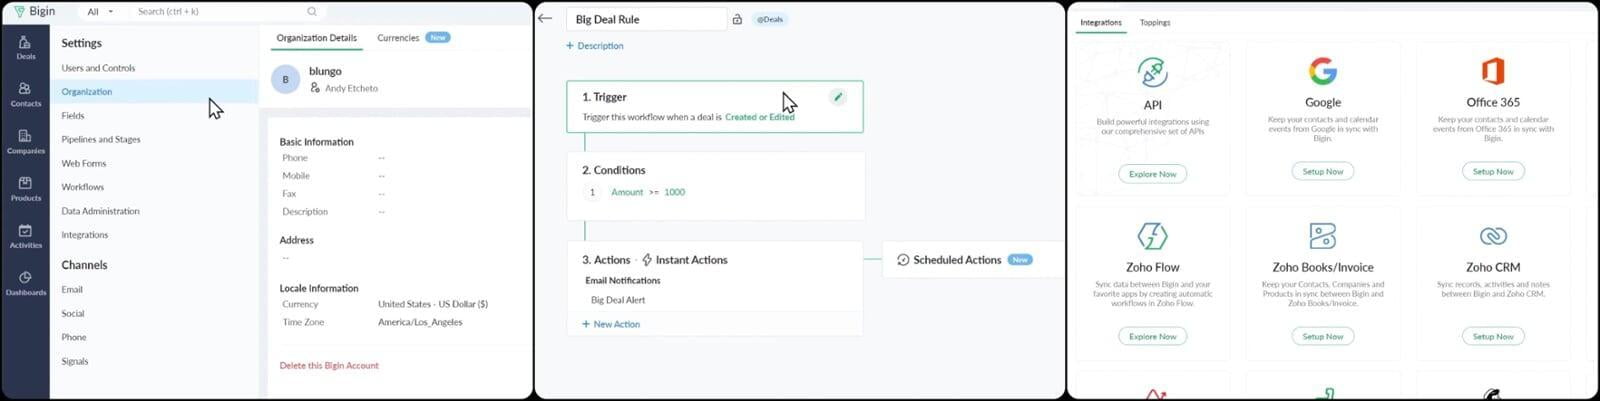
- Organization: we can change the details of our organization and the currencies we use.
- Fields: we can add or delete fields in the different modules that we have in the CRM.
- Pipelines and Stages: we can create sales cycles or modify your stages.
- Webforms: we can create forms, which we can use to collect information and dump it directly in the CRM.
- Workflows: allows us to automate actions. For example, in the image 2, the workflow sends an automatic email every time an opportunity is created with an amount greater than 1000 euros.
- Data Administration: we can import or export data, create backups, and access the recycle bin.
- Integrations: we will find all available integrations. (image 3)
- Channels: you can set up your email, connect twitter, set up your phone, or set up your signals.